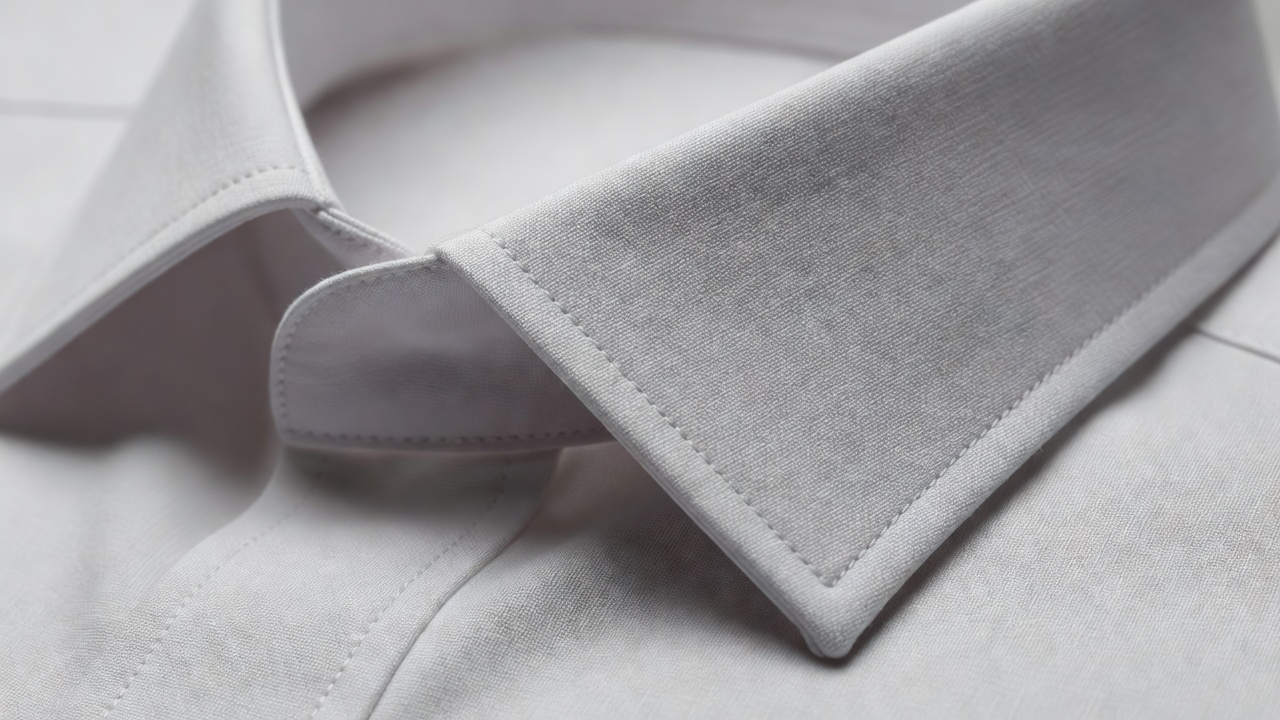
01 — Choose a narrow entry into structure
Structured construction combines familiar actions under tighter constraints. Before starting, be able to sew accurate seams, manage curves, mark consistently and check fit in a toile. If the project includes a closure, sample that operation separately. You do not need to have mastered every technique, but the first collar, first lining and first difficult fabric need not arrive in the same garment.
A supported waistband, a simple collar or a lightly structured vest can provide a focused study. A fully tailored jacket introduces interacting decisions about balance, support, sleeve shape and pressing. These are different projects even when a pattern envelope describes both as advanced. Read the actual instructions before deciding what the label means for you.
02 — Learn what the support layer changes
Interfacing supports an area; underlining is handled with the main fabric to alter its behavior; lining finishes the interior and may help the garment move over clothing. These roles can overlap in particular constructions, but the materials are not interchangeable by default. Follow the pattern and test any substitution as a complete layered sample.
For fusible interfacing, follow its manufacturer’s temperature, moisture, pressure and cooling instructions. Test on the intended fabric before committing. Check the sample after it cools and after any appropriate care test: bubbling, shrinkage, strike-through and an unexpectedly rigid hand are all reasons to reconsider. More stiffness does not automatically produce better structure.
Sew-in support avoids adhesive but introduces its own attachment and handling requirements. Traditional tailoring may use canvas, pad stitching and carefully controlled hand work. Those methods deserve dedicated instruction and samples rather than being added casually to a pattern designed around a different support system.
03 — Respect turn-of-cloth and bulk
When layers turn around an edge, the outside layer travels farther than the inside layer. This turn-of-cloth becomes more noticeable as the fabric and support grow thicker. A collar that looks correct while flat can roll its seam outward when turned. Do not “fix” every discrepancy by trimming both layers identically; check how the pattern has allowed for the roll.
Grade seam allowances only after checking the seam and the required construction. Grading reduces a single abrupt ridge by leaving layers at different widths. Clip or notch curves only where needed, and never cut the stitching. Understitching can help a facing remain inside, but some corners or tightly enclosed sections will not allow it to continue all the way.
Sample a collar point or waistband end using the final layers. Turn gently and inspect whether the seam settles where intended. A blunt point-turning tool is safer for the fabric than forcing a sharp object into the corner. If the corner remains bulky, investigate the allowance and support arrangement rather than simply pushing harder.
04 — Write a construction order
- Confirm fit, grain direction and pattern adjustments in a trial version.
- Test fabric preparation, support and pressing on scraps.
- Transfer all balance marks before pieces become difficult to identify.
- Complete operations that need flat access, following the pattern sequence.
- Check matching edges before trimming or enclosing allowances.
- Build in a fitting checkpoint before the lining conceals the interior.
- Finish openings and hems in the order required by the design.
05 — Press shape rather than chasing flatness
Pressing is controlled placement of heat, moisture and pressure, not repeated sliding. A tailor’s ham supports curved areas; a seam roll helps keep seam allowances from imprinting on the outside. A press cloth can protect the surface, but it does not make every temperature safe. Test for shine, color change, pile damage and distortion.
Let shaped sections cool without immediately disturbing them. Follow the iron’s instructions, keep the cord clear of your work and place the iron securely when not in use. Be especially careful with steam and enclosed layers that may retain heat. If a seam cannot lie as intended, check the stitching and bulk before applying more heat.
06 — Diagnose before repeating
A collar that pulls may reflect mismatched lengths, inaccurate notches or a fitting problem. A lining that lifts the hem may lack the intended movement allowance or may have been attached in the wrong position. A stiff front may come from unsuitable interfacing rather than poor sewing. Inspect one relationship at a time and record what you change.
Useful references include the construction instructions supplied with your pattern and the machine and interfacing manufacturers’ manuals. For broader study, Reader’s Digest Complete Guide to Sewing and Claire B. Shaeffer’s Couture Sewing Techniques provide established discussions of garment construction; editions and methods vary. No book replaces a representative sample. The next step is successful when you understand why the layers are there and can preserve their intended relationship through the sequence.