01 — Know what to bring to the table
You do not need a perfect stitch to begin. You do need to thread your machine according to its manual, wind and insert the bobbin correctly, and understand how to stop safely. Locate the presser-foot lever and learn how the handwheel is meant to turn. Switch off or disconnect the machine as its instructions require when changing needles or working near moving parts.
Choose a stable woven fabric such as a medium-weight cotton rather than stretch jersey or a slippery lining. Gather a suitable needle, compatible thread, pins or clips, fabric scissors, a seam gauge and a seam ripper. A ruler and a marking tool tested on a scrap help you check the result. An iron and a safe pressing surface are part of construction, not merely equipment for the final photograph.
02 — Make a seam sample first
Cut two small scraps on the same grain direction as your project pieces. Mark the intended seam line or identify the correct seam-allowance guide on your machine. Sew with the fabric supported on the table, guiding rather than pulling it. Watch the fabric edge against the guide; staring at the moving needle tends to encourage overcorrection.
Inspect both sides. Loops, skipped stitches or puckering are reasons to check threading, needle condition and settings before continuing. Do not try to solve every problem with tension changes. Press the seam as instructed for the project and see whether the allowance stays consistent. The useful outcome is a repeatable process, not a particular speed.
03 — Choose a project by its difficult moment
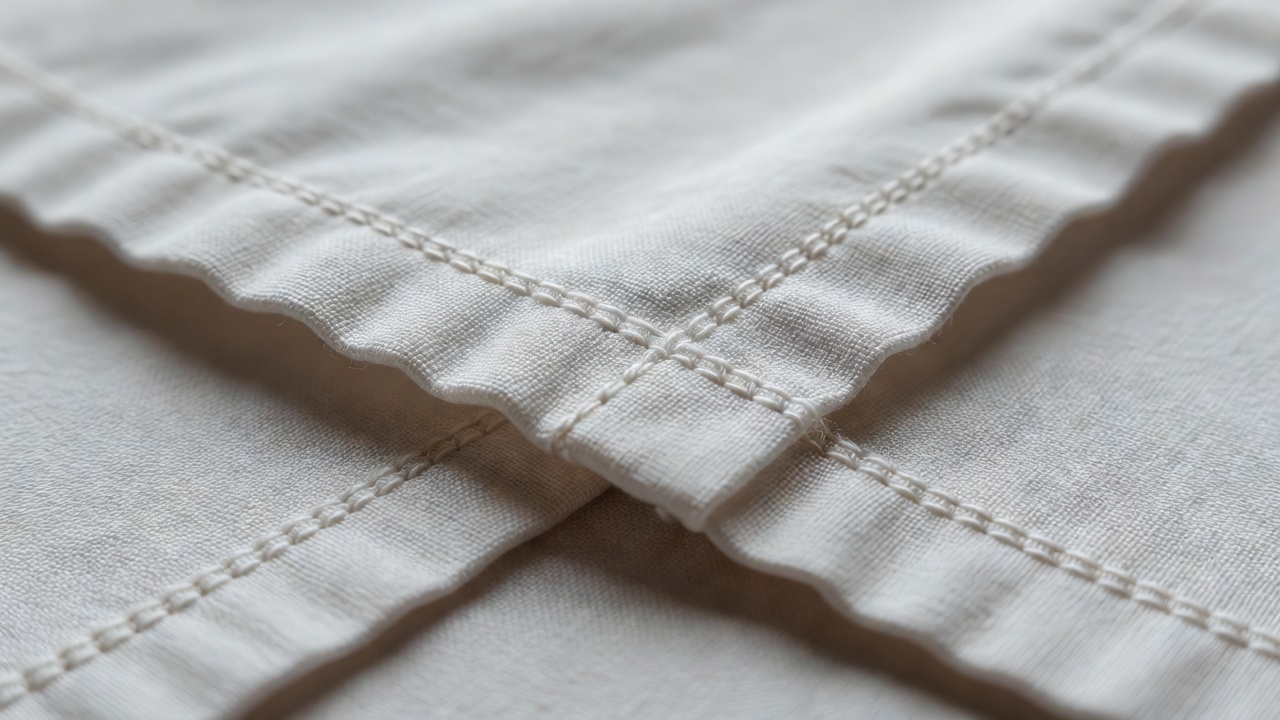
A cloth napkin isolates folding and stitching near an edge. Its demanding moment is the corner, where folded layers meet. A simple double-fold hem is a reasonable first route; a neatly mitered corner adds precision and deserves its own sample. Check whether the cloth takes a crease without scorching or marking.
An envelope cushion adds overlapping panels and corner turns without a zip. Its difficult moment may be keeping the overlap square and sufficient for the intended insert. Follow a tested pattern or measure the insert and account explicitly for seam allowances, hems and overlap. Do not assume that cutting the fabric to the insert’s dimensions will produce the right finished cover.
An unlined tote adds handles and load-bearing joins. Keep the first version in a cloth your machine can comfortably handle. Follow the pattern’s reinforcement method and consider what the bag will actually carry. A neat line of stitching alone does not establish that a handle attachment is strong enough for heavy use.
A short construction order
- Read the complete instructions and identify the seam allowances.
- Test the stitch and edge finish on matching scraps.
- Mark, cut and transfer the required placement points.
- Complete hems or attachments that become inaccessible later.
- Sew the main joins, checking alignment before reinforcing.
- Press, finish exposed allowances and inspect the work.
04 — Make the edges part of the lesson
Raw woven edges may fray. Pinking shears, a zigzag stitch, a turned-and-stitched allowance or a French seam each suit different circumstances. None is a universal finish. A French seam encloses raw edges but adds bulk and uses a particular sequence; do not substitute it into a pattern without checking the allowance and construction order.
At a corner, stop with the needle positioned as your machine and instructions require, lift the presser foot and pivot carefully. Before trimming corner bulk, check the seam from the right side. Trim conservatively and keep scissors away from the stitches. Turn gently with a blunt tool rather than pushing hard with a sharp point.
05 — Recognize a useful error
If the seam wanders, shorten the distance you try to sew without pausing. If one layer creeps forward, support the cloth, check pinning or basting and avoid pulling the top layer. If a hem twists, recheck the cut edge and the consistency of the fold before blaming the machine. Pressing cannot reliably erase an inaccurate fold.
Unpick only the section that needs correction, remove loose threads and check for needle damage before resewing. Save a labeled sample with the fabric, needle and stitch choice. Move on when you can make a functional seam deliberately and explain what you would change, not when every line looks identical. The next challenge can be a gentle curve rather than a completely different project.