01 — Keep the familiar parts familiar
Before adding shaping, aim to sew a repeatable straight seam, read pattern markings and press without distorting the fabric. You should be comfortable checking a seam allowance and correcting a short section. If those actions still absorb all your attention, make another small sample first. Repetition is preparation, not a requirement to earn a higher level.
Choose a stable woven cloth with enough body to show the effect of a dart or curve. Avoid making your first fitted project in fabric that also stretches, slips or has a directional pile. A simple pull-on woven garment can reduce closure decisions, but it still needs enough ease to pass over the body. Follow the pattern’s sizing and fabric guidance rather than choosing by a ready-to-wear size label.
02 — Understand what the dart is doing
Transfer the dart legs and tip using a marking method tested on your fabric. Match the legs accurately and check that the fold runs through the intended tip. For a typical single-point dart, stitch from the wider end toward the point, tapering gradually. A sudden change of direction at the tip can create a small bubble.
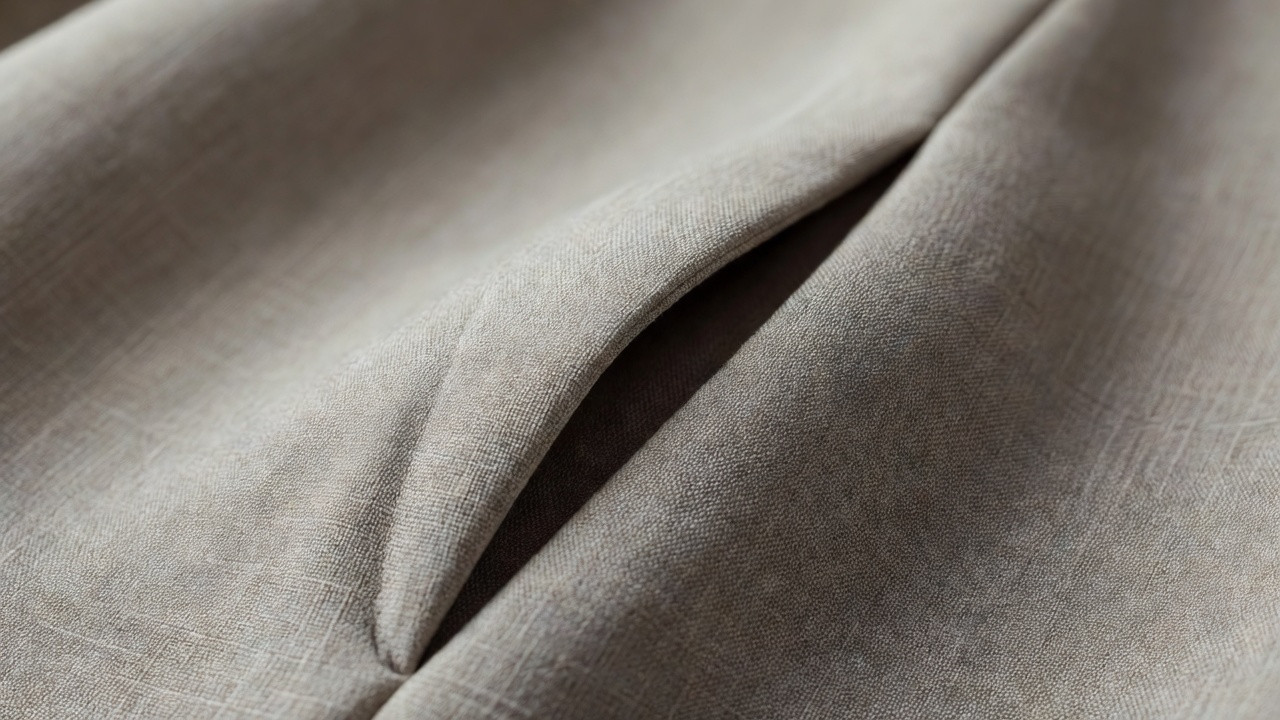
Secure the thread ends according to the pattern and fabric; tying them is often useful at a delicate dart tip because bulky backstitching can disturb the finish. Press the dart as directed, using a tailor’s ham where a curved surface helps preserve the shape. Do not flatten the three-dimensional result against the board simply because the surrounding fabric is flat.
A dart that points to the wrong place may be a fitting issue rather than a stitching issue. Check the pattern’s intended placement and the fit on a trial garment. Changing a dart can affect nearby seams, so redraw and test rather than shifting its tip casually on the final fabric.
03 — Sew curves at the seam line
Two curved raw edges do not always look as though they will match. The important relationship is usually at the stitching line. Match the marked notches and endpoints, then distribute the fabric between them without stretching it. Hand basting can hold a tricky curve more predictably than adding more pins.
Staystitching can help stabilize an edge that is vulnerable to stretching, particularly around a neckline. Follow the pattern’s direction and placement. It belongs within the seam allowance and should not become a visible line on the finished garment. Support the cloth while handling it; a carefully cut neckline can still grow if it hangs unsupported.
After checking the seam, an inward curve may need clipping and an outward curve may need notching so the allowance can spread or overlap when turned. These are not interchangeable instructions for every seam. Work conservatively, avoid cutting the stitching and consider the fabric’s tendency to fray. A sample reveals how much release is actually needed.
A fitting checkpoint
Try on a securely basted toile before closing the construction permanently. Remove loose pins before moving, and do not fit near an operating machine. Check standing, sitting and reaching as appropriate to the garment.
04 — Use a toile to answer one question
A toile, sometimes called a muslin, is a trial version made to investigate fit or construction. Choose trial cloth with behavior reasonably close to the intended fabric; a crisp cotton cannot fully predict the drape of a soft rayon. Mark the grainline, seam lines and useful reference points so you can distinguish a fit problem from a twisted assembly.
Begin with the pattern measurements and finished garment measurements where supplied. Wearing ease allows movement; design ease creates the intended silhouette. Removing all visible looseness can destroy both. Make one adjustment at a time, record it on the paper pattern and check the connected seams before cutting again.
05 — Separate common errors
A puckered curve may come from stretching, poor matching or excessive bulk rather than an incorrect body measurement. A dart bubble may come from an abrupt finish rather than a need for a larger size. A garment that twists may have been cut off grain. Diagnose the construction before repeatedly changing the fit.
A manageable next project might be a simple darted shell with a tested neckline finish or an elastic-waist garment with a gentle curved seam. Avoid adding close fit, a first invisible zip and a difficult fabric merely because they appear together in a tempting pattern. Finish this stage able to explain where the shape comes from and when you need to test it. That understanding will make a later closure far less mysterious.