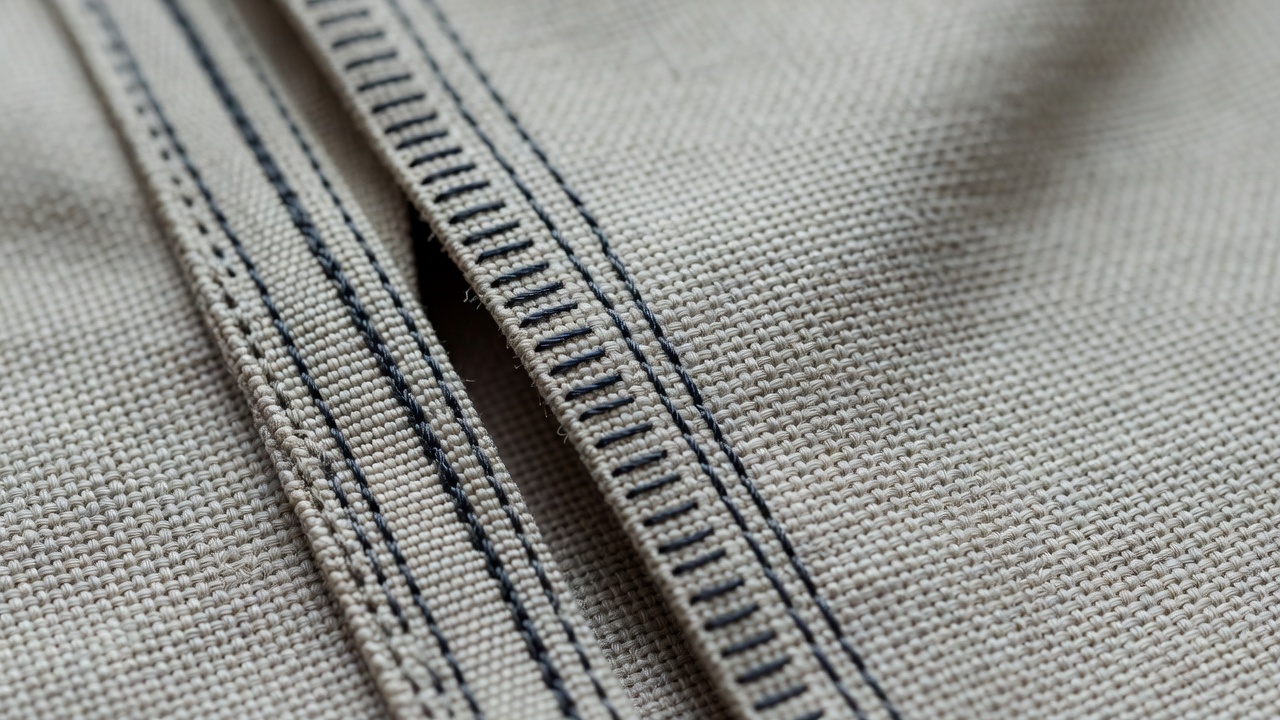
01 — Prepare a representative sample
Begin when you can control a straight seam and press an edge accurately. Familiarity with basting and marking is helpful because a closure needs placement as well as stitching. Read the machine manual before fitting a zipper foot or buttonhole foot. Check the selected needle position by the safe method described in the manual so the needle cannot strike the attachment.
Make a sample with the same fabric, seam allowances and support layers as the project. Two pieces of scrap cotton will not tell you much about a buttonhole that will eventually pass through a thick wool facing. Include interfacing where the pattern requires it. Mark a top edge and matching reference lines so movement becomes visible rather than merely frustrating.
02 — Choose a zip method deliberately
A centered zip, lapped zip and invisible zip create different openings and use different sequences. One is not universally easier. A centered application makes the topstitching visible, so even spacing becomes part of the challenge. A lapped application asks for controlled overlap. An invisible application depends on accurate stitching near the coil and a clean transition into the seam below.
For a first sample, choose a pattern with an explained application and a stable woven fabric. Baste the opening where instructed, place the tape without stretching it and check the two sides against your reference marks. Sew slowly near changes in thickness. Never stitch across metal teeth, stops or the slider; follow the zip and pattern instructions for handling the ends.
Before enclosing the tape in a facing or lining, operate the zip and inspect the surrounding cloth. It should move without catching seam allowances, and the top edges should meet as intended. A ripple might come from stretched fabric, mismatched layers or unsuitable support. Unpicking and rebasting is often more useful than pressing harder.
03 — Build the buttonhole before cutting it
A buttonhole is a reinforced opening in a particular fabric stack. Test its size with the actual button, including the button’s thickness. An automatic buttonhole foot is convenient, but the machine’s setting does not remove the need for a sample. Check that the stitched opening accommodates the button without forcing or excessive looseness.
Mark placement according to the pattern’s overlap and center-front lines. The visible edge is not automatically the button line. Confirm orientation and spacing before sewing the whole row. Interfacing may stabilize the area, but its weight and fusing requirements must suit the fabric. Test for bubbling, stiffness or visible marking.
Cut only after checking the stitching. Use a suitable cutting method on a protected surface, keep your hands clear of the cutting path and avoid cutting the end bars. A seam ripper can travel farther than intended if pushed forcefully. Work in controlled increments and stop when the opening is complete, not when the tool reaches the other end of its stroke.
The irreversible-step check
- Confirm that the overlap faces the intended direction.
- Compare the top edges and any matching seam lines.
- Test the actual button or zip through its full movement.
- Inspect the inside for trapped fabric and loose threads.
- Only then cut an opening or enclose inaccessible allowances.
04 — Consider other fastenings honestly
Hooks and eyes need secure placement and enough surrounding support to hold the intended tension. Snaps may need reinforcement and manufacturer-specific tools. Hammer-in and press-set products are not interchangeable, and installation can damage delicate cloth. Practise on a sample and follow the fastening manufacturer’s instructions, including any safety precautions.
Buttons also need room for the fabric layers beneath them. A thread shank or a shank button may suit some applications, but the choice depends on thickness and use. Sew the button securely without pulling the surrounding cloth into a permanent dimple. Check the closed opening on the body or object it is intended to fit.
05 — Choose the next complete project
A stable-fabric cushion with a zip lets you concentrate on an opening without fitting a garment. A simple button-front project may introduce a longer alignment problem and repeated buttonholes. A lined pouch adds turning and enclosing layers, so it is not necessarily the smaller challenge merely because it uses less fabric.
Keep the successful sample beside your machine and label its settings and layer order. If the final result behaves differently, compare the layers, grain direction and handling before changing everything at once. You are ready to combine closures with more structure when you can explain not only how the fastening is sewn, but when it must be sewn and what supports it.